Toyota Hilux’s are great cars, but there’s often one complaint, especially with the older models. The average, stock radio.
It’s got a clunky menu, limited navigation, and the screen makes this car feel older then it actually is.
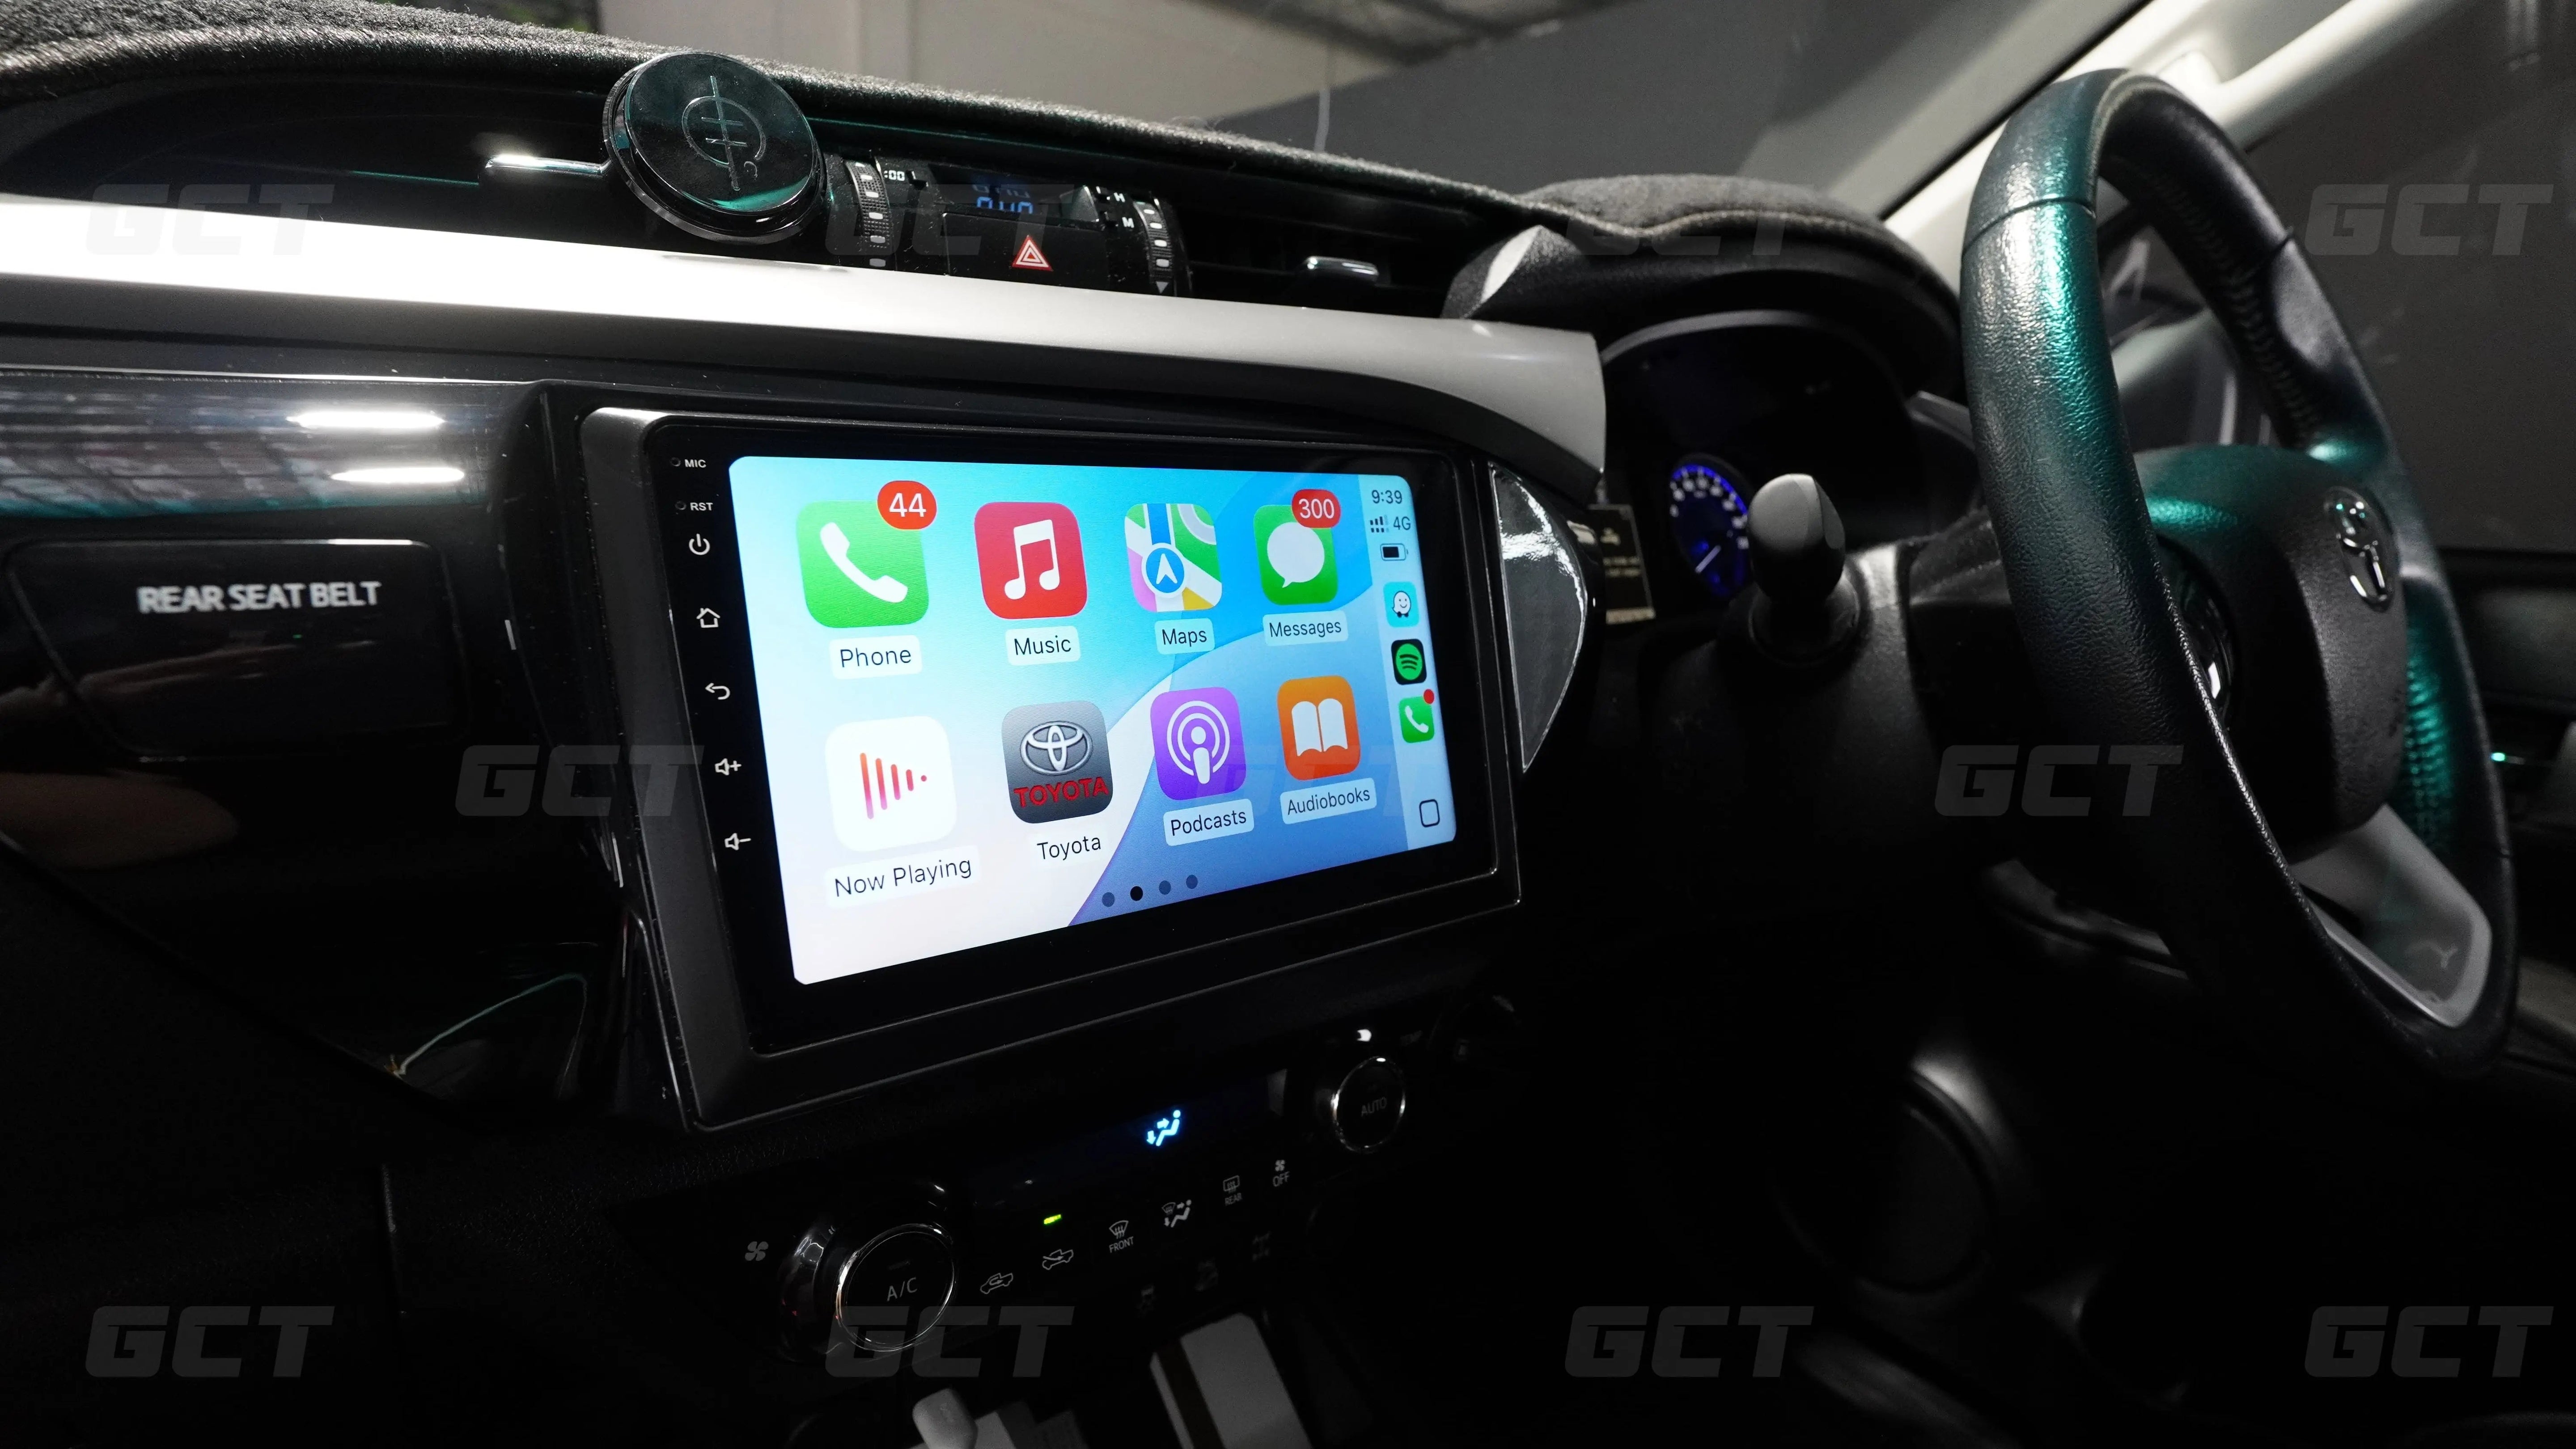
Luckily, you can install a Wireless Apple CarPlay System into your Hilux, you can change all of that.
Our full DIY kit for your Toyota Hilux replaces your entire radio unit giving you a new touchscreen that runs Apple CarPlay and Android Auto, giving you a sharper display and modern interface with a range of better features.
And believe it or not, it's actually a relatively simple job.
We've installed these into more than 1,000 cars, and the Hilux is honestly one of our favourites to work on.
This guide covers both the N70 and N80 Hilux, what's involved, and how you can have Apple CarPlay and/or Android Auto installed in about 45 minutes.
In the video above, we install a full kit into an N80 Hilux from start to finish. If you'd rather watch than read, it's all there.
Why add Apple CarPlay to your Hilux?
One of the main benefits of installing Apple CarPlay is navigation. The Hilux pulls double duty as a work truck and a family 4WD, so you're often heading somewhere new, whether that's a job site or a campsite well off the main road.
Apple CarPlay puts Google Maps and Waze straight on your screen, with live traffic and proper routing, so you're not glancing down at a phone in your lap.
Besides the convenience, it’s also a more affordable method for navigation as a phone-use fine in Queensland is over $1,200, and CarPlay keeps your phone out of your hands while you drive.
Then there's everything else you get with the new system. Spotify and your podcasts run cleanly through the truck, phone calls and Siri are right there, and the whole cabin feels a lot more modern.
Which Hilux do you have
Before you buy, work out which generation you're driving, because each one has its own kit and its own tutorial.
The N70 is the 7th generation Hilux, built from 2005 to 2015. The N80 is the 8th generation, from 2016 onwards. The install follows the same idea on both, but the trim and fitment differ between them, so you'll want the kit made specifically for your model.
Driving the older 7th-gen Hilux? We've got a full step-by-step install video for our N70 Apple CarPlay system above.
What you're actually getting
This is worth being clear on, because it's different to some of the cheaper upgrades floating around. You're not adding a small adapter behind the existing screen. You're replacing the entire stock radio with our own head unit.
That means a brand new touchscreen running our own interface, which we've built to be the simplest and cleanest on the market.
You get wireless Apple CarPlay running at a smooth 60 frames per second, plus little touches you won't find elsewhere, like a proper Toyota logo on startup.
It looks and feels factory, just a generation or two newer than what your Hilux came with.
Will I lose any factory features
No, and this is the part people worry about most. Everything that should keep working, keeps working.
Your steering wheel controls still run everything once we adjust a quick setting during the install. Your reverse camera still kicks in the moment you select reverse. Even small things like the rear seatbelt indicator light get carried across to the new unit.
We reuse the factory mounting clips too, so the new screen sits in there snug, exactly like it came from Toyota.
How the install works
The whole job takes about 45 minutes, and the Hilux makes it easy. Toyotas really are a dream to work on.
You start by removing a few pieces of trim around the radio. It sounds intimidating, but it's about a 5 minute job and it all pops out cleanly. From there you undo four bolts, disconnect the factory plugs behind the radio, and the stock unit lifts straight out.
Next you transfer a few factory pieces over to the new frame, like the mounting clips and the seatbelt indicator, so everything lines up properly.
You fit the included microphone, run its cable up behind the dash, then plug everything back in.
The connectors are keyed, which means each plug only fits its matching socket. If one doesn't slot in easily, it's the wrong one, so it's genuinely hard to get this step wrong.
Then you click the new screen into place, and you're basically done.
Watch the above videos for a full step by step explanation on how to install this system into your Hilux.

What it's like once it's in
Once it's installed, the experience is excellent. Start the truck and wireless CarPlay connects on its own with no need to plug in or any other fuss like that. You've got Waze, Spotify and all your usual apps running at 60fps, fully tied into your steering wheel buttons and reverse camera.
One small quirk worth knowing about: on these units your skip and previous track buttons end up swapped, so next track is down and previous is up. You get used to it within a day.
DIY, or let us handle it
Most people fit these themselves, and between the keyed plugs and the step-by-step video you get when purchasing one of our systems, it's very doable even for a first timer.
But if you'd rather not pull your dash apart on a Saturday, our team at our Brisbane workshop can fit it for you. Just give us a call or text for a quote.
Either way, you end up in the same place: a sharp, modern CarPlay system in your Hilux, done right the first time. That's what we're about here at Get Car Tech. CarPlay, the easy way.
Share:
How to Add Apple CarPlay to Your Mazda (2014-2020)