

Driving a Holden VF Commodore is still a treat, but the MyLink screen is starting to show its age. You don’t get proper navigation, Spotify isn’t set up the way you’d want, and the system just feels much older than the car drives.
A lot of owners won’t want to touch the head unit as these cars are almost becoming collector’s items, and ripping out the factory screen to fit some generic aftermarket part kills the original look, and hurts the value of your car.
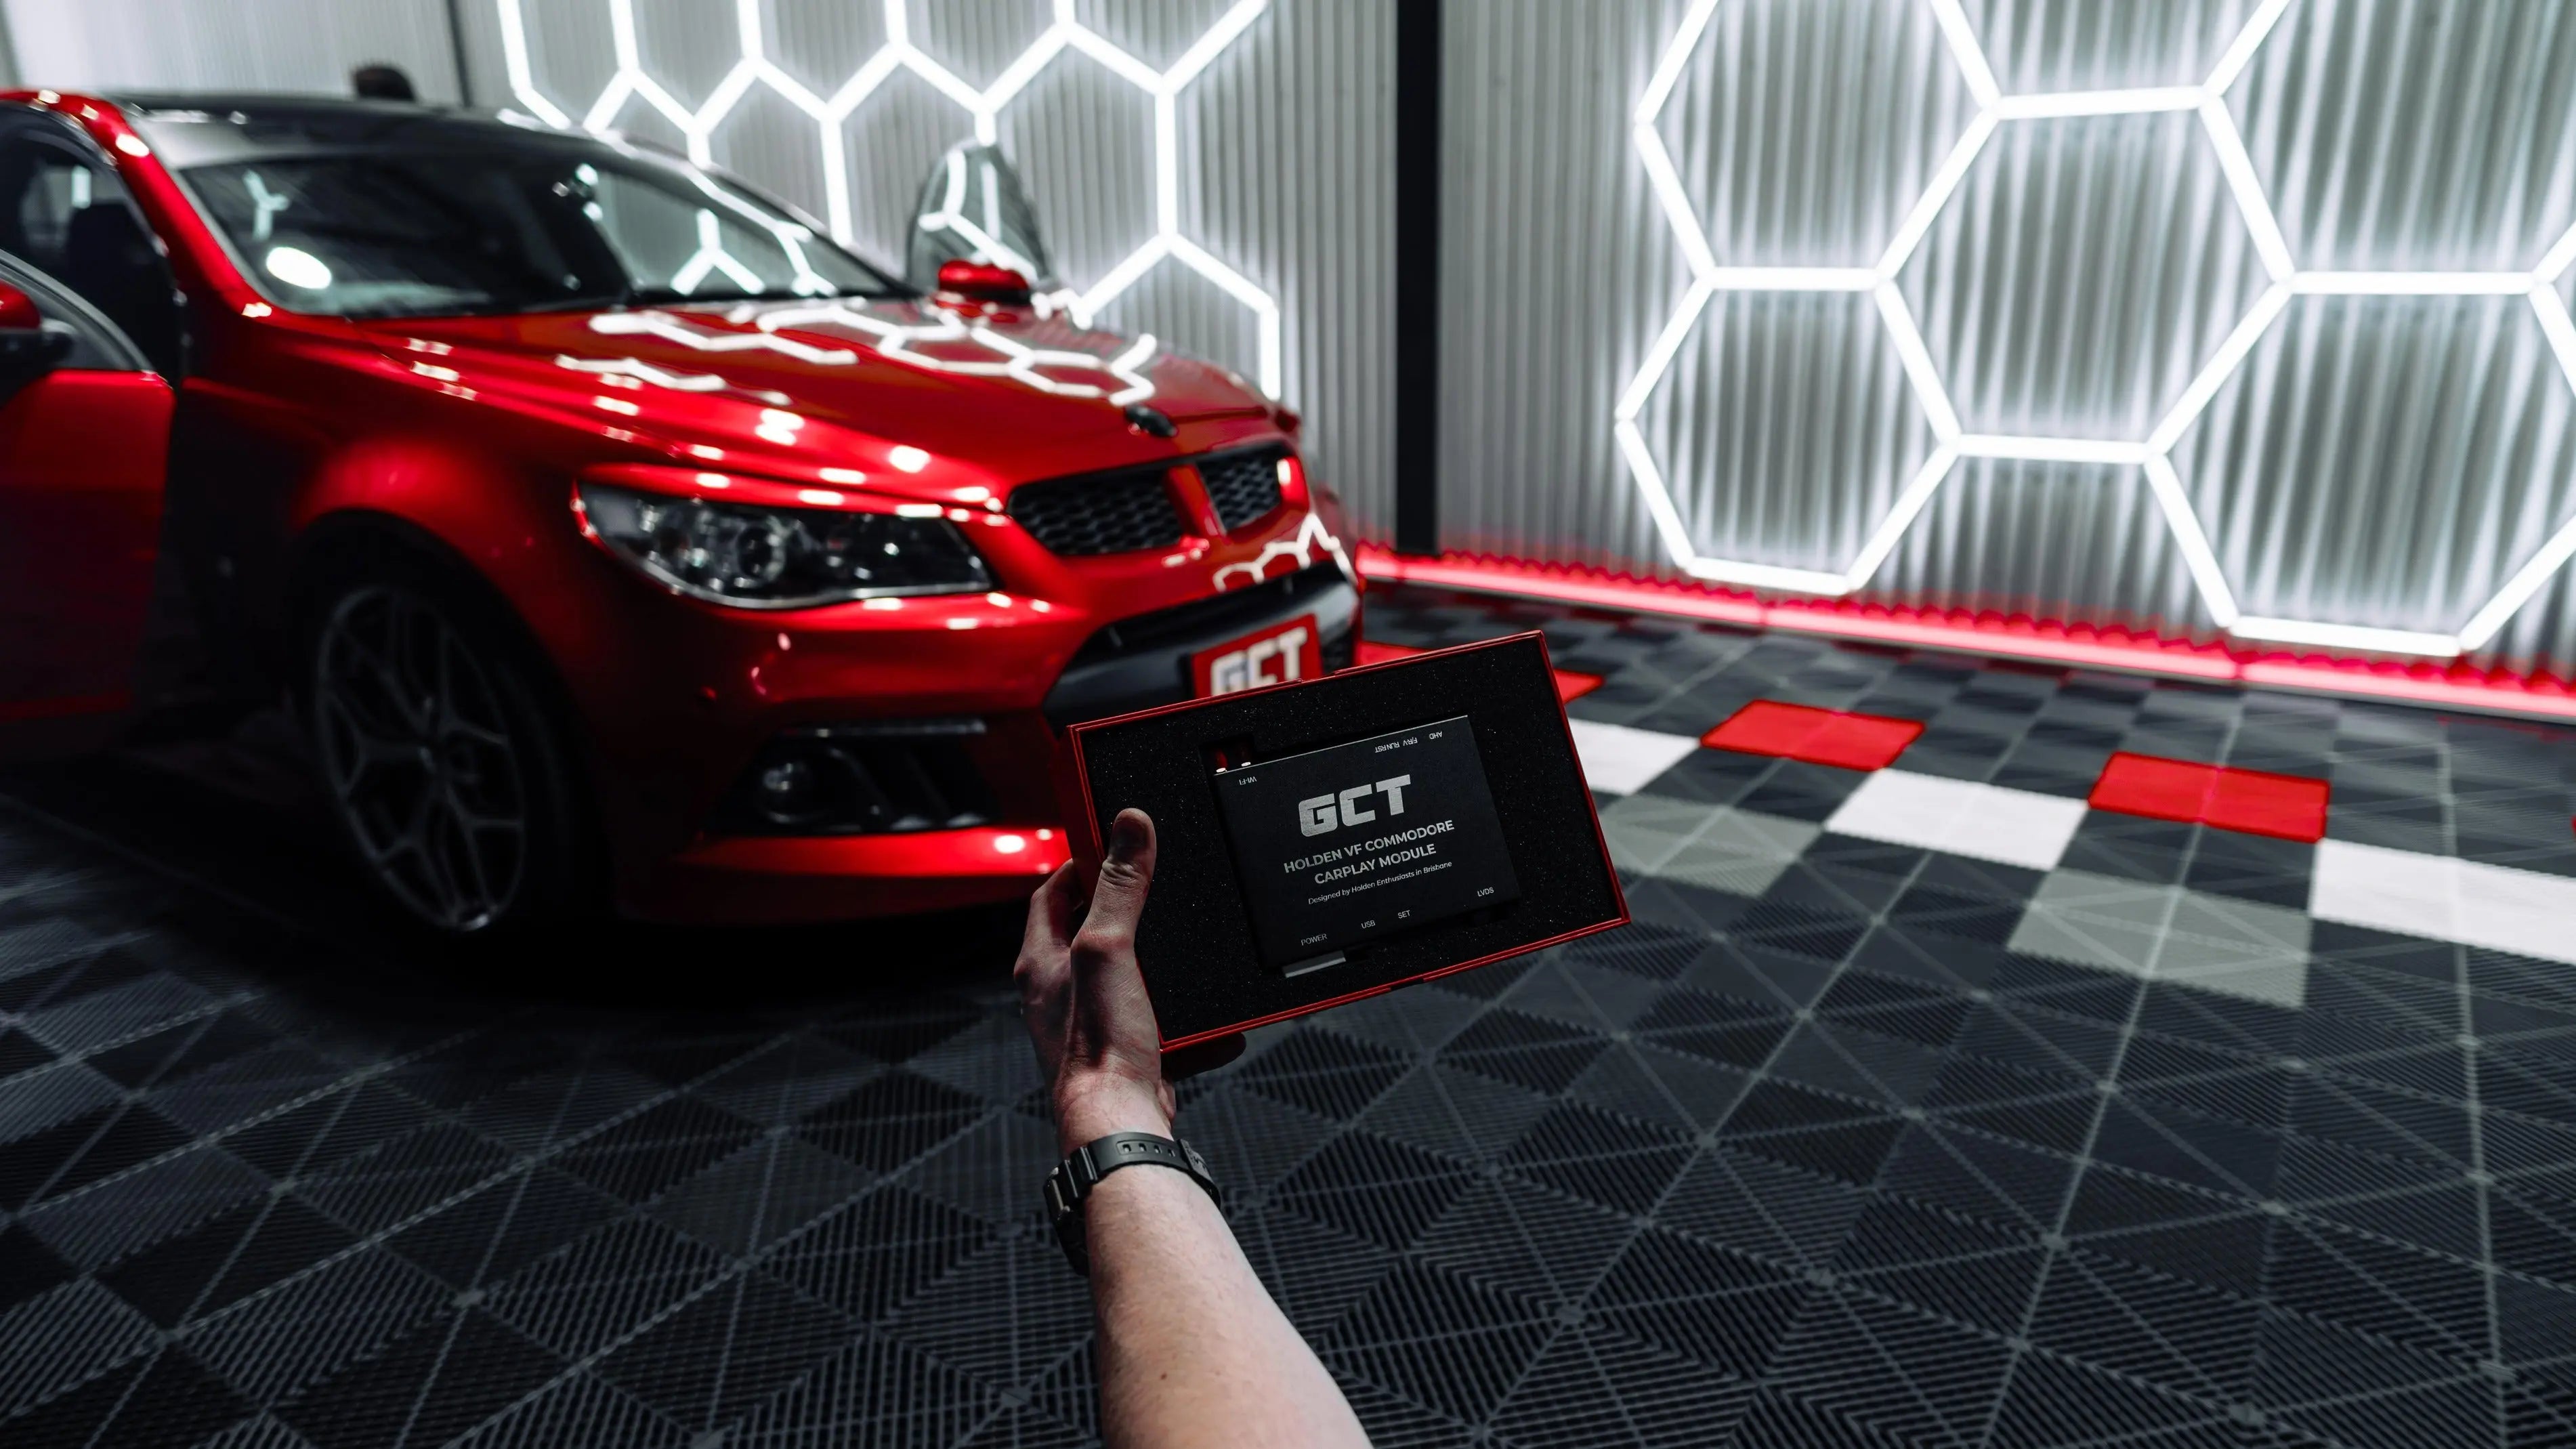
Because of that, we’ve developed a wireless system that works with the existing screen, allowing you to add Apple CarPlay and Android Auto into the stock MyLink screen, keeping everything intact and not harming the potential value of your Holden.
We’ve installed these systems into more than 1,000 cars, and this guide walks you through how it works, what’s involved, and how the whole thing comes together in about 90 minutes.
In the video above, we fit a complete kit into a VF Series 2 from start to finish. If you'd rather watch than read, it's all there.
Why add CarPlay to your Commodore?
Navigation is the obvious one. Apple CarPlay puts Google Maps and Waze right on your MyLink screen, with live traffic and proper routing, so you're not fumbling with a phone in your lap. That matters here in Queensland, where a phone-use fine is over $1,200.
Then there's Spotify, podcasts, hands-free calls and Siri, all running cleanly through your car.
But the real reason this kit lands so well with VF owners is actually what it doesn't do. It doesn't change your car.
You get 2025 infotainment on a screen that's pushing ten years old, without losing the factory look that makes these Commodores worth holding onto.
Which Commodore do you have?
The good news is this kit covers the whole VF range. VF Series 1, VF Series 2, and HSV variants are all sorted.
There's a separate kit for the VF1 and the VF2, and the VF1 is actually a touch easier to install. If you're in an HSV, you also keep full access to your EDI interface, so nothing is lost there either. The simplest way to check compatibility is the screen itself. If your MyLink screen looks like the one in our video above, you're good to go.
What you're actually getting installing CarPlay into your Commodore
This is worth being clear on, because it's different to a lot of CarPlay upgrades out there. You're not replacing the head unit. You're adding a small module that hides away above the glove box and feeds CarPlay into your existing MyLink screen.
That means your stock system stays exactly where it is.
To jump into CarPlay you just hold the back button below the screen, and to go back to MyLink you hold it again.
You get two interfaces on the one screen with nothing torn out.
For these VF Holden Commodores that you actually care about keeping original, this is a game changer.

Will I lose any factory features?
No. Your full MyLink system stays put, and you switch in and out of it with the back button whenever you like.
Everything else keeps working too. Your reverse camera still comes up when you select reverse and drops you straight back into CarPlay when you shift to park. Your steering wheel buttons still control volume and track skipping.
And as mentioned, HSV owners keep their EDI interface. You're adding to the car, not taking anything away from it.
How the install works
The job takes about 90 minutes, and the VF is genuinely simple to pull apart. All you need is a 7mm socket set and a trim tool, which we include in our kit.
You start by popping off a couple of trim pieces around the gear stick using the trim tool.
From there you remove a few 7mm bolts, pull out the climate control panel, then carefully release the screen assembly, which comes away in one piece. Behind it sits the MyLink radio, held in by four more bolts.
Once that's out, you unplug the factory harnesses and connect our aftermarket harness in between. The main connector is a quad lock, which takes a firm push on the lever to seat properly, but you'll hear the radio power on when it's right.
Then you plug the module itself into the harness, tuck it up above the glove box out of the way, and run a quick test before buttoning everything back up.
That's it. Reassembly is just the same steps in reverse, and the screen clips back in around the perimeter.
Watch our full tutorial above for a step-by-step video showing you each stage.
One feature you'll actually use: screen mirroring
This one's a bit of a party trick, but a useful one. The module supports full wireless screen mirroring, so you can throw whatever's on your iPhone straight onto the MyLink screen using AirPlay.
YouTube, Netflix, whatever's on your phone shows up on the screen, and it even handles horizontal video. The connection is quick and snappy, and it's a fun extra to have when you're parked up and wanting to kill some time.
What it's like once it's in
When you start your car, MyLink boots up, and about ten seconds later it drops straight into wireless CarPlay on its own.
You've got Waze, Spotify and all your usual apps right there, and CarPlay actually looks great on these screens despite their age.
DIY, or let us handle it
Most people fit these themselves, and between the included tools and our step-by-step video, it's very doable.
But if you'd rather not spend a Saturday behind the dash, our team at our Brisbane workshop can fit it for you. Just give us a call or text for a quote.
Either way, you end up in the same spot: wireless CarPlay in your Commodore, the factory look untouched and all done right the first time.
That's what we're about here at Get Car Tech. CarPlay, the easy way.


Share:
How to Install Apple CarPlay into a Toyota Hilux
How to Install Apple CarPlay into a Nissan Navara